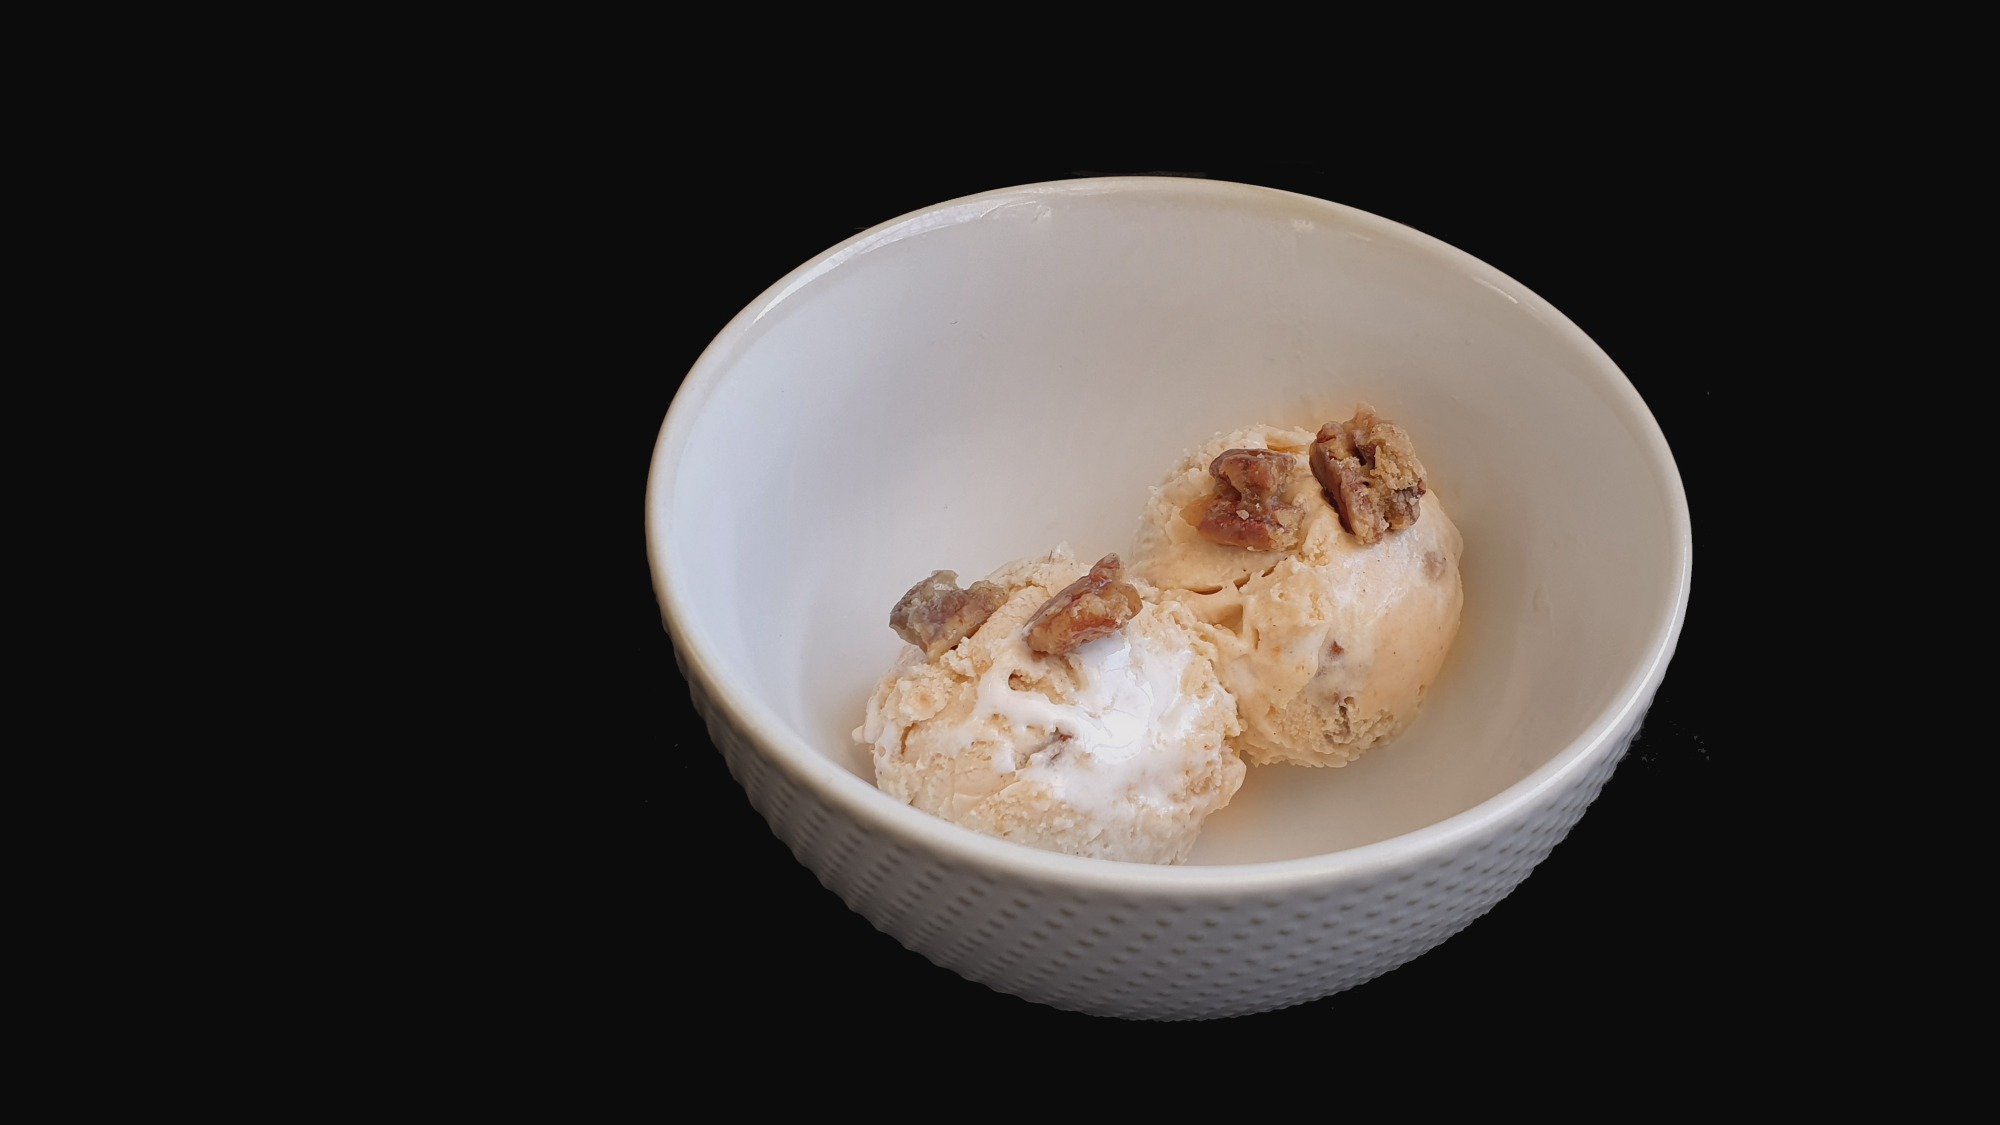
Sweet potato casserole but make it ice cream.
It starts off with baking some canned sweet potatoes, canned because they’ve already been cooked enough to minimise their starchiness so the ice cream wouldn’t be too gummy.
A maple-scented marshmallow fluff is swirled throughout the ice cream – it tastes really distinct and strong on its own but honestly once it is swirled into the ice cream it just adds a subtle maple note throughout and you can’t really distinguish the fluff from the ice cream. Its main purpose is just aesthetics.

The pecan praline adds much-needed dimensionality in the form of crunch and saltiness and I would add more than I added if I made this ice cream next time (I’ve reflected this doubled praline amount in the recipe below).
The recipe is once again from Salt and Straw’s cookbook (last Thanksgiving I made their mashed potatoes and gravy ice cream).
Ingredients
Ice cream base
- 1/2 cup sugar (100g)
- 2 tbsp dry milk powder (12g)
- 1/4 tsp xanthum gum (see notes)
- 2 tbsp light corn syrup (45g)
- 1 1/3 cup whole milk (315g)
- 1 1/3 cup heavy cream (300g)
Sweet potato puree
- A 15oz can sweet potatoes in light syrup
- 1/3 cup lightly packed light brown sugar
- 1/2 tsp kosher salt
- 1 tsp ground cinnamon
Brown sugar pecan praline
- 1/2 cup whole milk
- 2 tbsp sugar
- 2 tbsp lightly packed light brown sugar
- 1 tbsp unsalted butter
- 1/8 tsp vanilla
- 1/2 cup chopped pecans
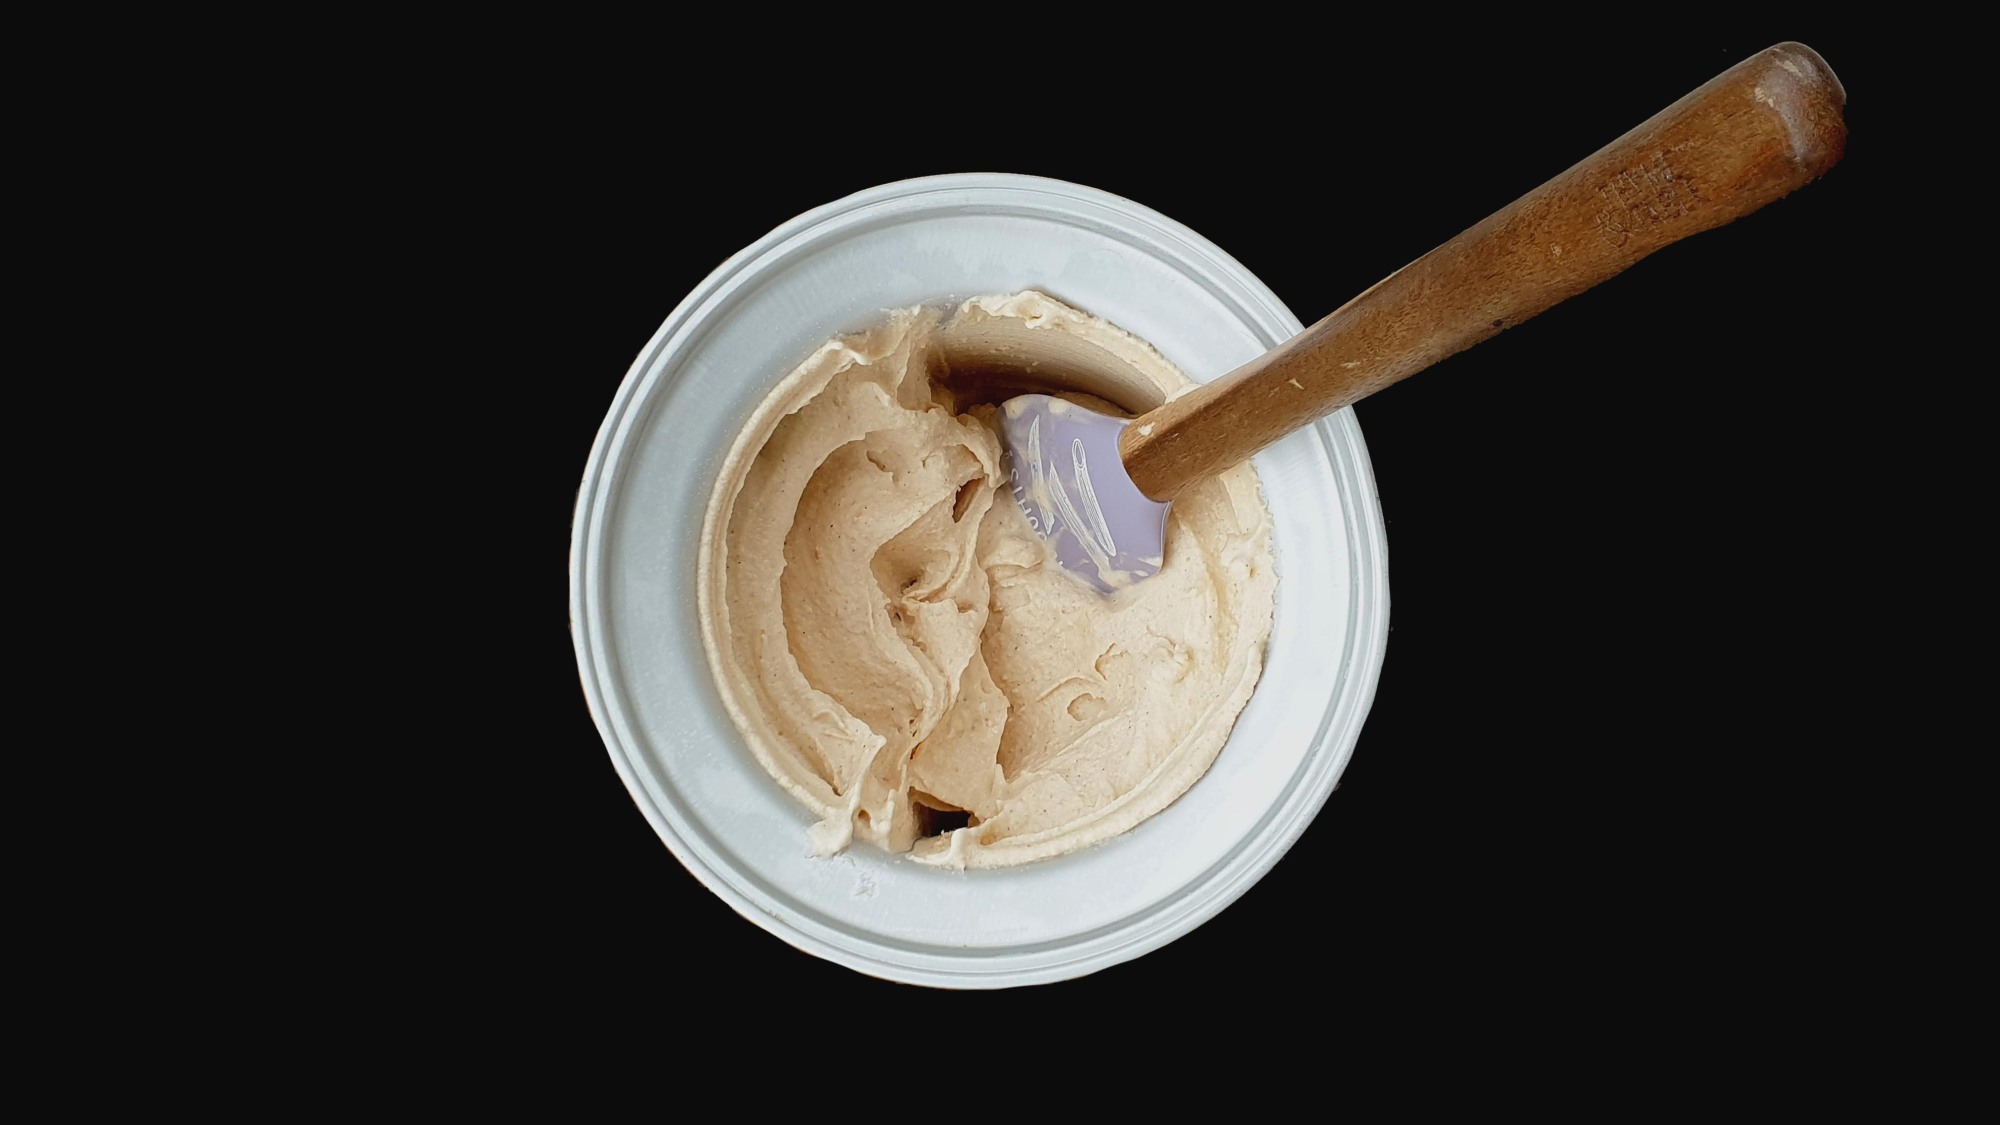
Maple marshmallow fluff
- 1 large egg white
- 1/6 tsp cream of tartar (if you can’t measure this out just approximate, it’s a weird amount because I scaled down the original recipe so I wouldn’t have any excess fluff)
- 33g sugar
- 30g light corn syrup
- 30g dark, robust maple syrup
- 15g water
Method
Ice cream base (the day before)
- Combine the sugar, milk powder, and xanthum gum into a small bowl and mix well.
- Pour the corn syrup and whole milk into a saucepan and stir well. Add the sugar mixture and whisk until smooth. Heat over medium heat, stirring often and adjusting the heat to prevent a simmer, until the sugar has fully dissolved (about 3 mins). Remove the pot from the heat.
- Whisk in the cream and transfer the mixture to an airtight container and refrigerate. Meanwhile, prepare the sweet potato puree.
Sweet potato puree
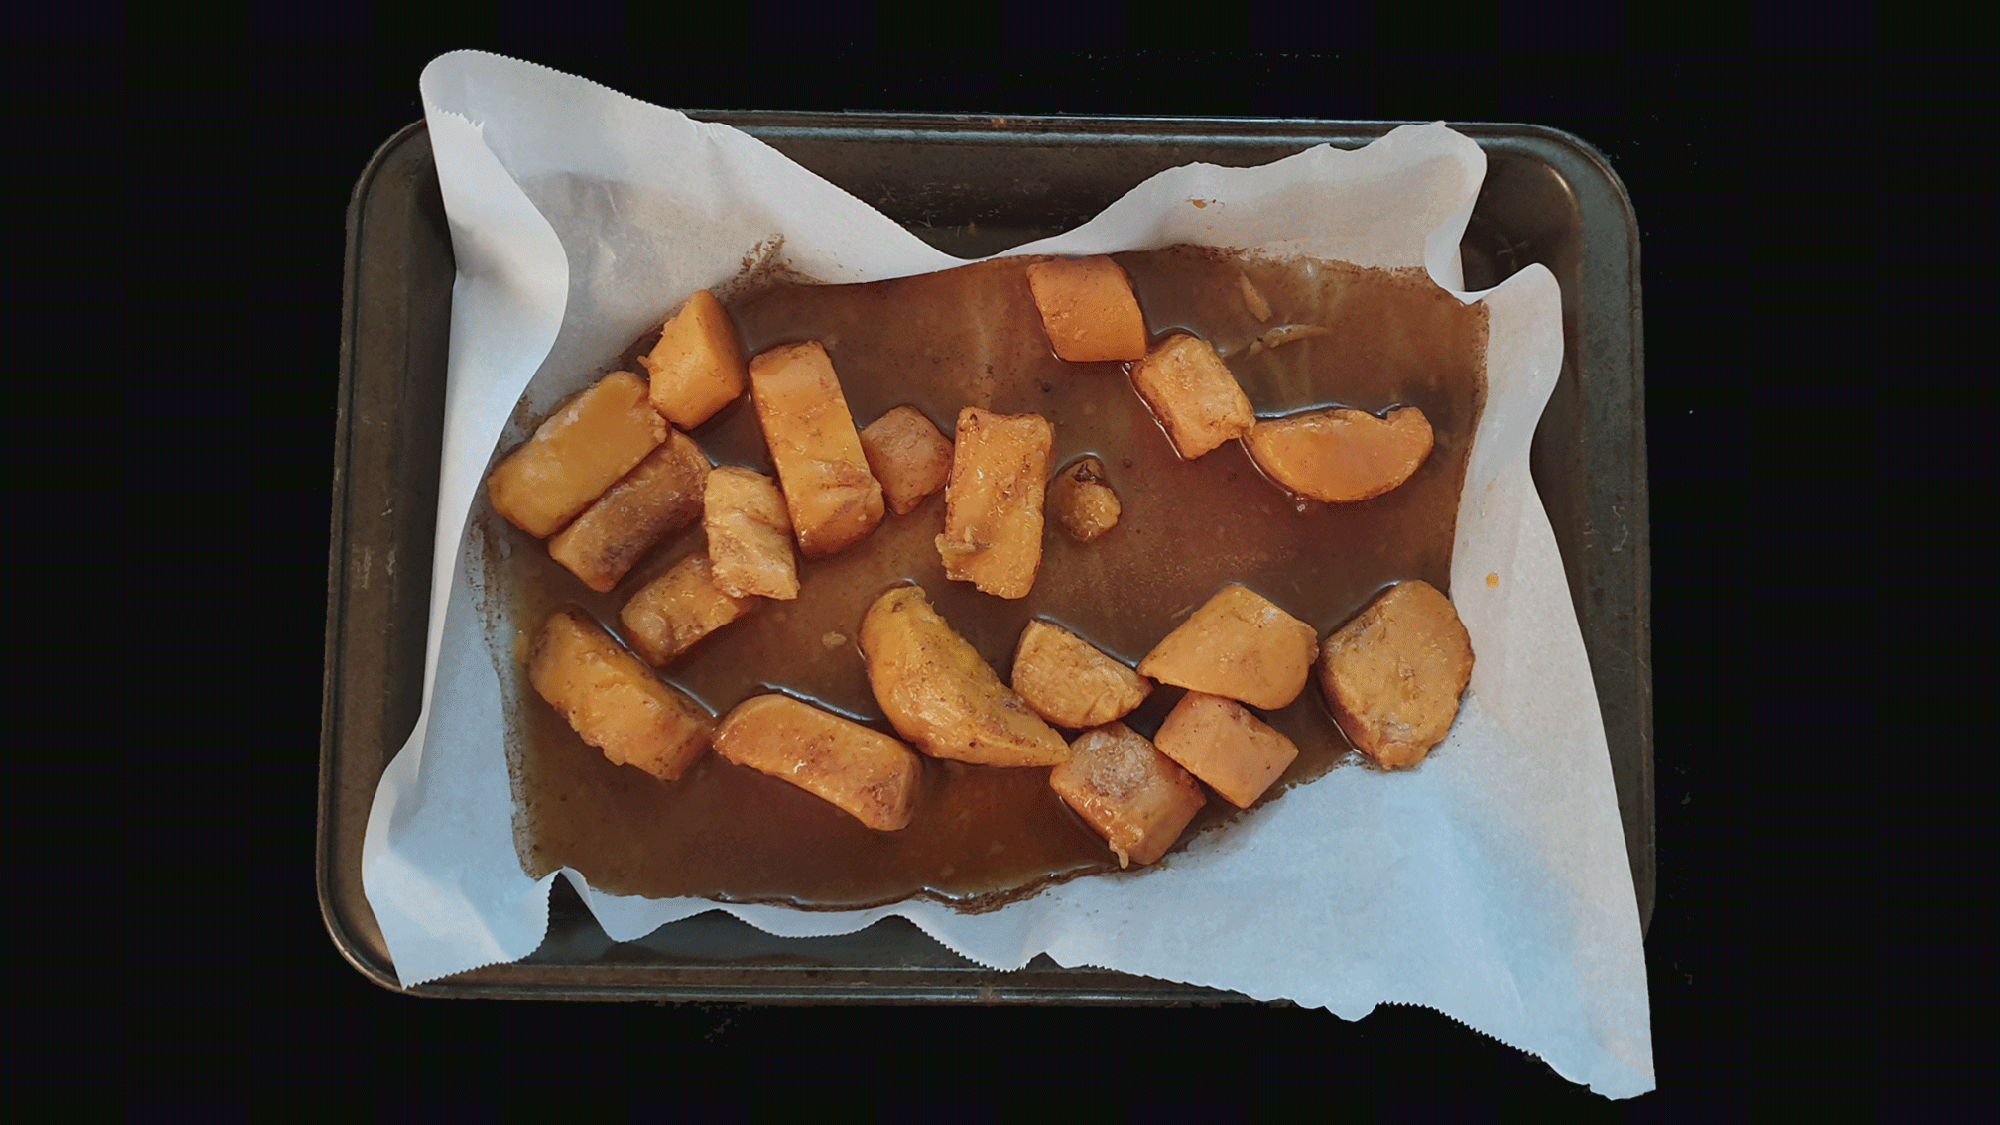
- Preheat the oven to 350°F/180°C.
- Pour the sweet potatoes and its syrup (add less syrup if you want your ice cream to be less sweet), into a baking dish.
- Add the brown sugar, salt, and cinnamon, and stir until combined.
- Cover the dish and bake in the preheated oven for 35 mins or until the sweet potatoes are super mushy. Coarsely mash the sweet potatoes.
- Transfer 1 cup of the mashed sweet potatoes to a heatproof measuring cup. If you have any extra those can be stored in the freezer for up to 2 months (thaw and gently warm before using).
- Let this reserved 1 cup of mashed sweet potatoes cool until it is just slightly warm, then blend together with the ice cream base until smooth.
- Transfer this mixture to an airtight container and refrigerate until well chilled, at least 6 hours.
Brown sugar pecan praline
- Line a sheet pan with baking paper.
- In a saucepan, combine the milk, sugar, brown sugar, butter, and vanilla and stir well.
- Set the saucepan over medium heat and cook, stirring often, until the mixture registers 238°F/114°C on a candy thermometer (it’s ok if the mixture crystallizes).
- When the right temperature is reached, stir in the chopped pecans so the pecans are completely coated. Keep stirring until the sugar begins to crystallize and become crumbly, about 20s more.
- Remove the pan from the heat and let the mixture cool until it is as thick as warm caramel, about 5-10 mins.
- Stir again, then scrape the mixture onto the prepared sheet pan, spreading it out to get the pecans in a more or less single layer. Let the praline cool to room temperature.
- Remove the praline from the sheet pan and crumble to approximately 1/4 inch pieces. Put in an airtight container and freeze until cold.
Maple marshmallow fluff
- In a stand mixer, beat the egg whites on medium-high speed until they’re foamy, about 2 mins. Add the cream of tartar and continue to beat until the whites reach soft peak. Reduce the mixer speed to the lowest setting and leave it on while you heat the sugar.
- Mix the sugar, water, corn syrup, and maple syrup in a medium saucepan. Set the saucepan over medium-high heat and cook, stirring constantly until the syrup turns clear, about 2 minutes.
- Stop stirring and keep cooking until the syrup registers 238°F/114°C on a candy thermometer. Immediately remove the pan from the heat.
- Raise the mixer speed to medium-low and drizzle the hot sugar syrup into the egg whites in a thin, stead stream, aiming for the syrup to hit only the whites and not the bowl (if it hits the bowl it might start cooling down and forming hardened sugar that won’t mix with the whites).
- Once all the syrup has been incorporated, raise the mixer speed to medium-high and whip the fluff until it is just warm to the touch and has a glossy sheen, about 2 minutes.
- Transfer to an airtight container and refrigerate until cold.
Assembly
- Pour the mixture into an ice cream maker and turn on the machine, and churn until the mixture has the texture of soft-serve.
- When the ice cream is ready, transfer a layer of ice cream into a freezer-friendly container. Then sprinkle on some praline, using a spoon to press them in gently. Then add a few generous spoonfuls of your marshmallow fluff, distributing evenly across the ice cream. Repeat with a layer of ice cream, then the praline, then the fluff. (If you use a wide and shallow container, like me, just do 2 layers of each).
- Cover the ice cream with parchment paper (I think this is to prevent freezer burn), pressing it to the surface of the ice cream so it adheres, and cover with a lid.
- Freeze the ice cream until solid.
Notes
- Xanthum gum is a thickener/stabiliser commonly used in vegan/gluten-free baking, so that’s where you might find them in the supermarket. I got the Bob’s Red Mill brand.
- If you’re using an ice cream maker which bowl needs to be frozen beforehand, make sure to cover the bowl with clingfilm so ice crystals won’t form in the bowl and cause your ice cream to have a sandy texture. Also to be safe, freeze the bowl for at least 2 days and at the coldest setting your freezer will go.
- My ice cream maker takes about 20-30 minutes to reach soft-serve consistency.