Hope you have the non-soapy OR6A2 variant.
My life, my love – this is my ode to coriander. Think about one of the chinese names for coriander – 香菜 (xiang cai). It literally translates to fragrant vegetable. Sometimes you just got to call something for what it is. Like the hammerhead shark. Or the yellow crazy ant.
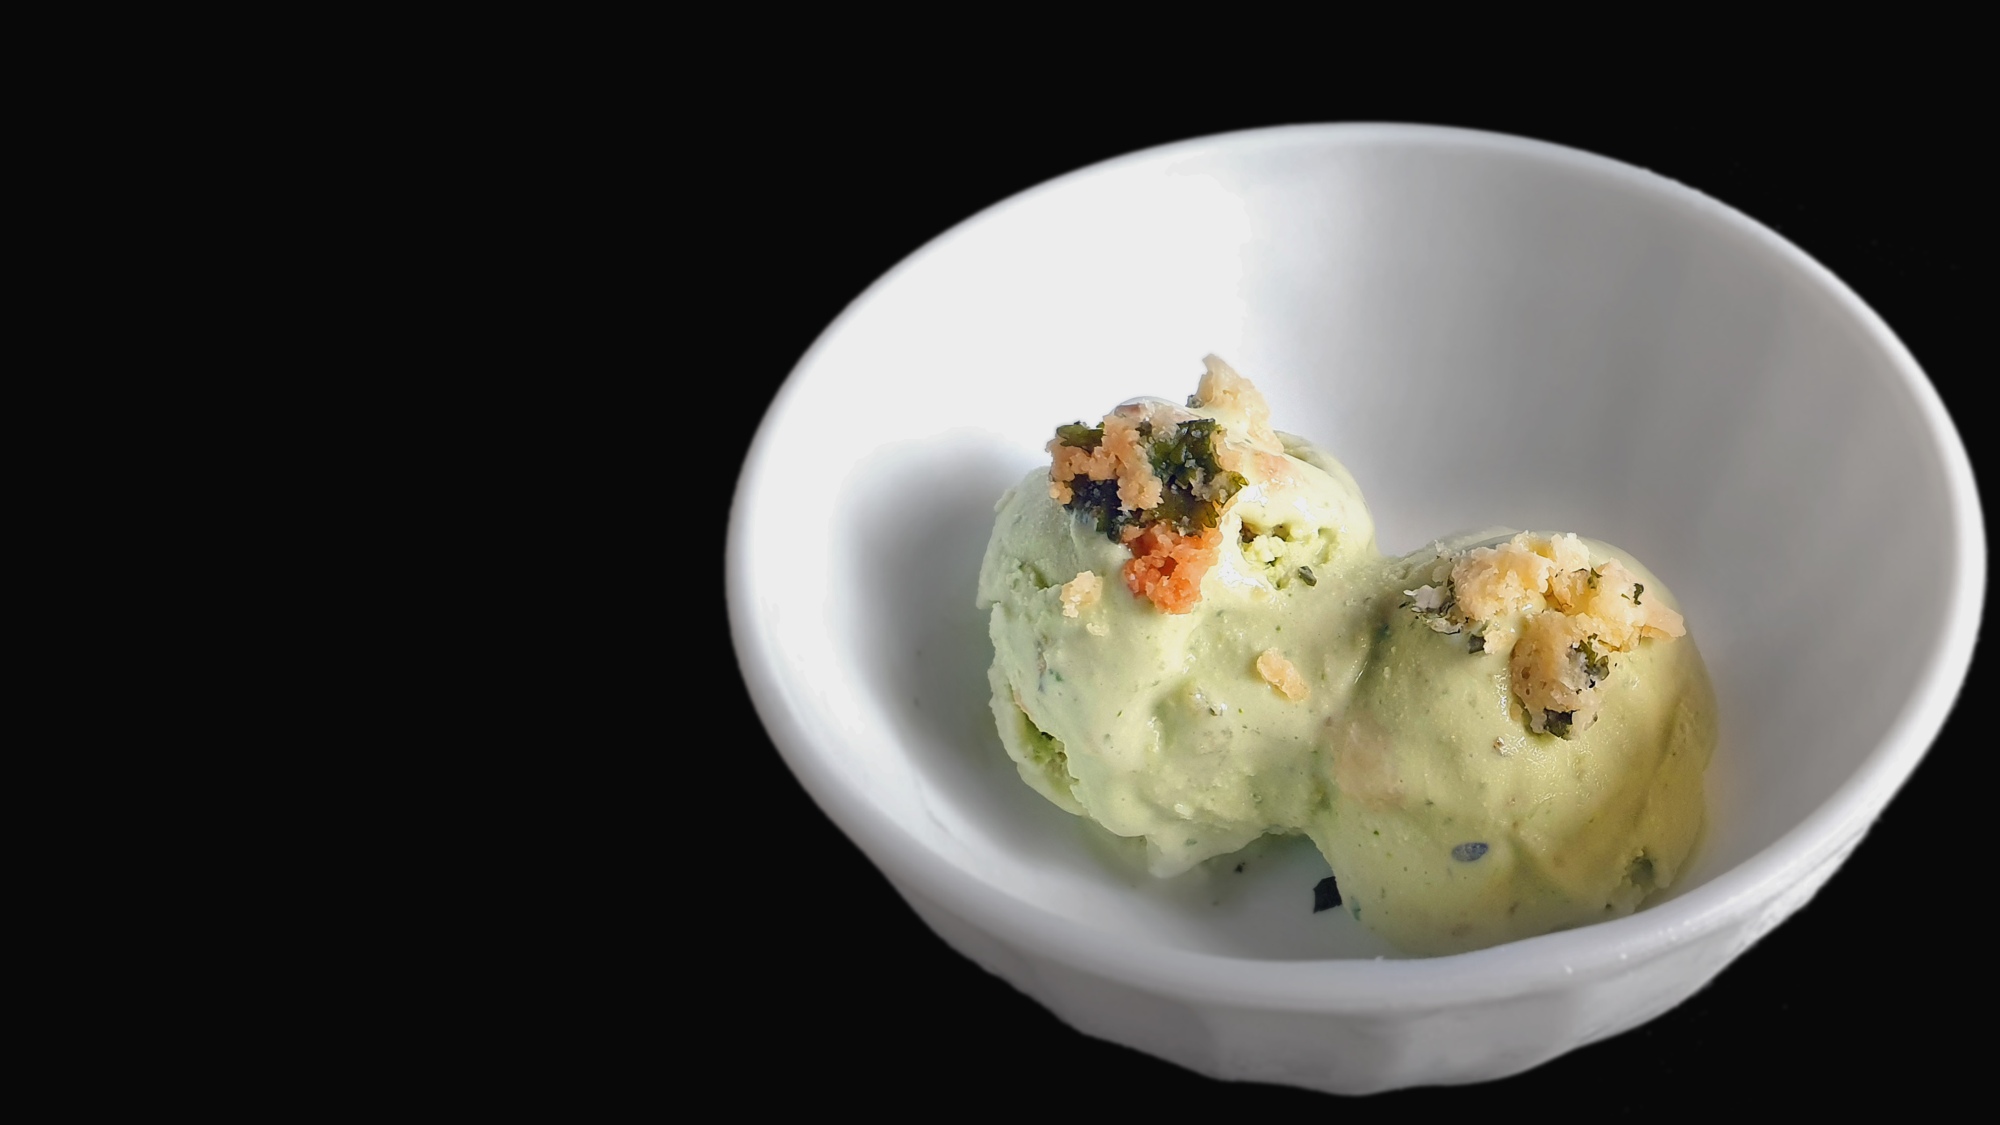
I first head about coriander ice cream from Crazy Scoops, an ice cream shop in Singapore and I had to recreate it. Loads of my fellow Coriander Comrades were raving about it so I knew the flavour had to work as an ice cream flavour.
I decided to add a lime-coriander shortbread cookie mix in for some textural variation, and since lime and coriander are besties.
Honestly, the first spoonful of ice cream is an assault to the senses. But after the next few spoonfuls you kind of get used to it…yes…sweet creamy coriander…and then bam you’re deep in the coriander cult and you keep going back for more. The cookies definitely mellow out the coriander taste so add more of it if you’re SCARED.
Also, in case you were confused, I’m referring to coriander leaf (not seed) here. Also known as cilantro if you speak Freedom.
The recipes for the ice cream base and cookies were adapted from Salt and Straw’s Ice Cream Cookbook.
Ingredients (makes about 1.5 pints)
Ice cream base
- 1/2 cup sugar (100g)
- 2 tbsp dry milk powder (12g)
- 1/4 tsp xanthum gum (see notes)
- 2 tbsp light corn syrup (45g)
- 1 1/3 cup whole milk (315g)
- 1 1/3 cup heavy cream (300g)
- One big bunch of coriander (mine was about 100g, pick out a couple of stems to use in the shortbread cookie below)
Lime-coriander shortbread cookies
- 4 tbsp butter, cut into chunks (57g)
- 1/6 cup sugar (33g)
- 3/8 cup all-purpose flour (47g)
- 1/8 cup cornstarch (18g)
- 1/4 tsp salt
- Zest from one lime
- Leaves from a couple of stalks of coriander (I didn’t measure this, just go with your coriander spirit)
Method
Ice cream base (the day before churning the ice cream)
- In a saucepan, mix together milk and corn syrup.
- In a small bowl, combine the sugar, milk powder, and xanthum gum and mix well.
- Add the sugar mixture into the saucepan containing the milk and whisk until smooth. Heat over medium heat, stirring often and adjusting the heat to prevent a simmer, until the sugar has fully dissolved (about 3 mins). Remove the pot from the heat and let milk cool to room temperature.
- Meanwhile, remove the roots and any super thick stems from the coriander.
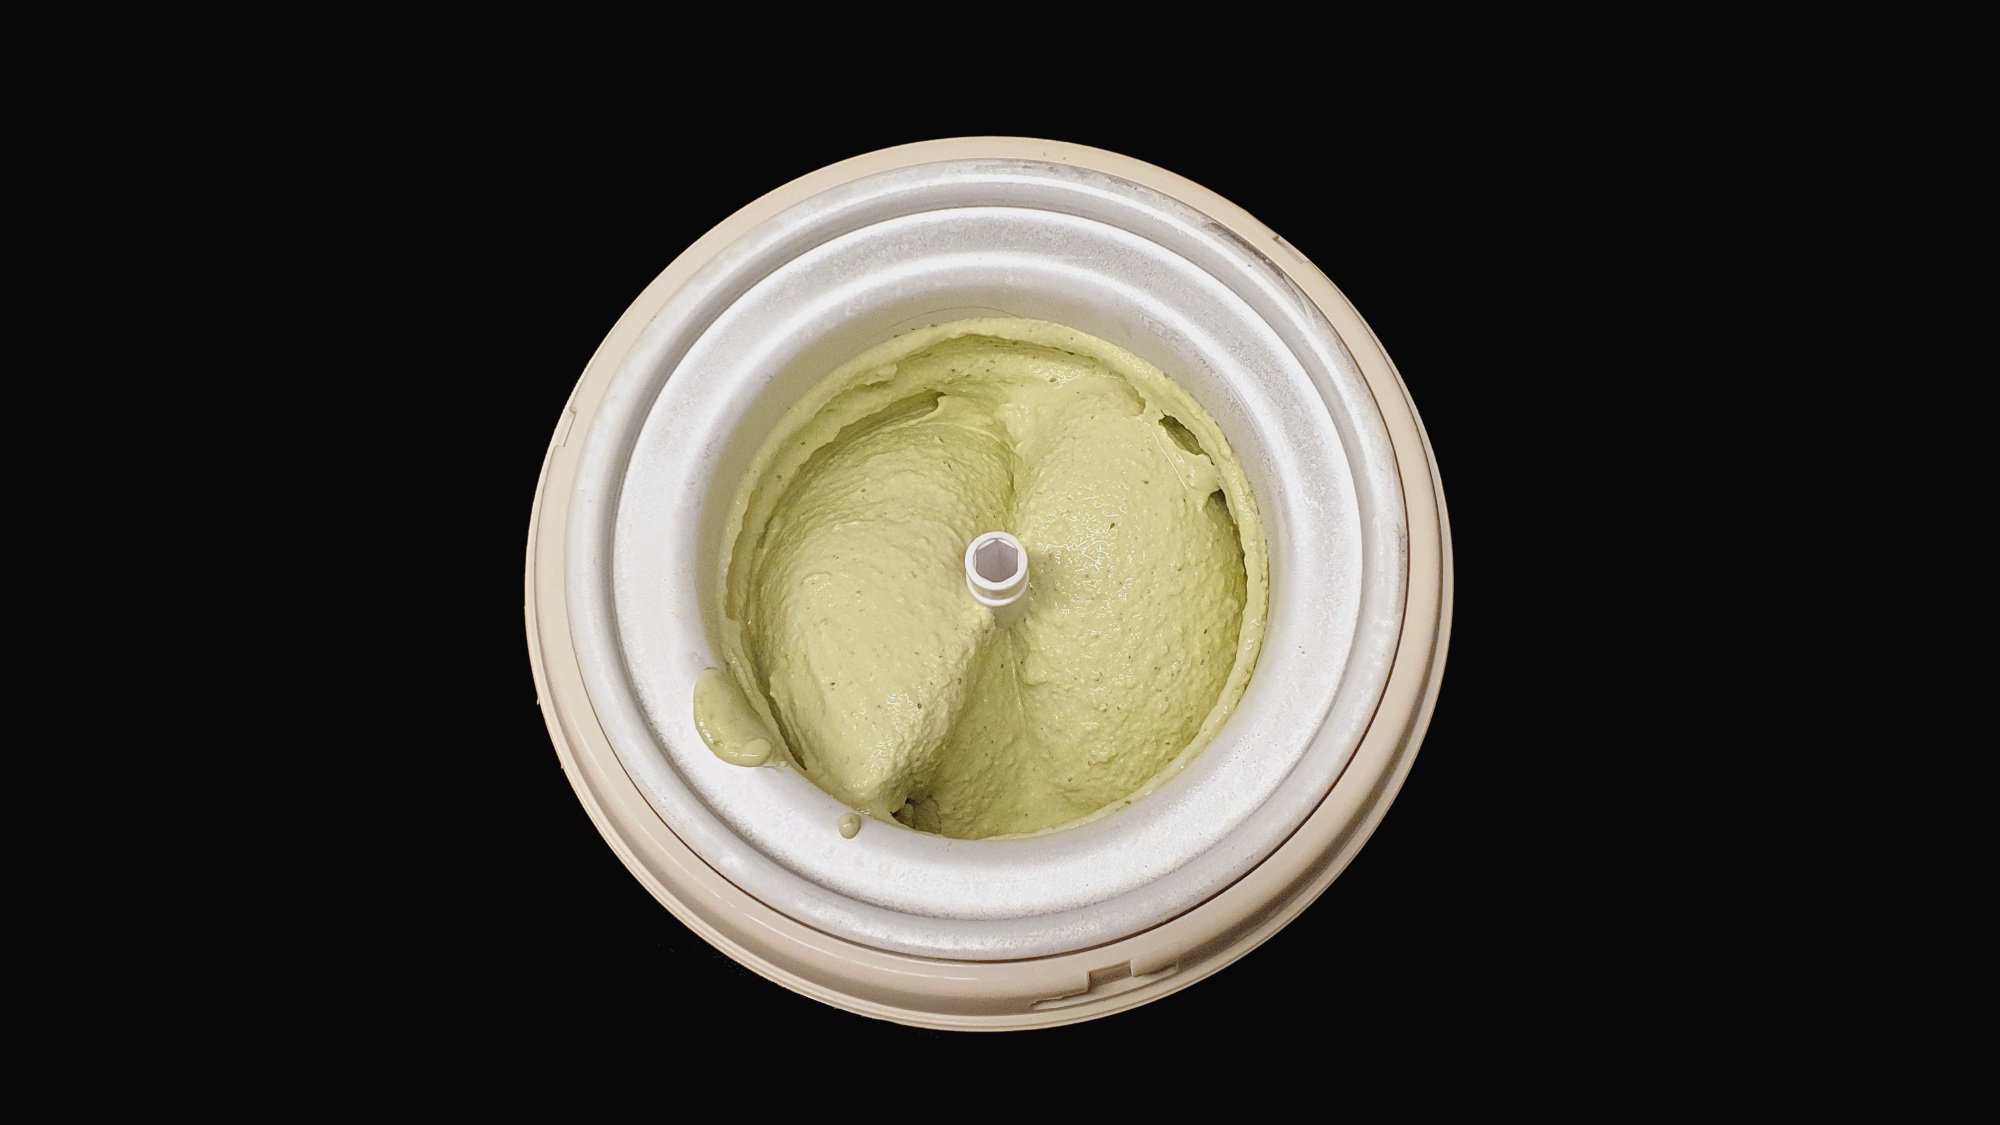
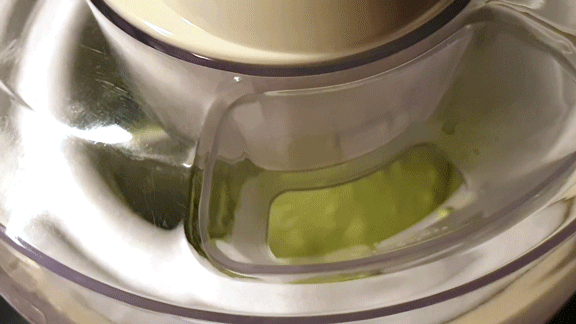
- Combine the milk and coriander into a blender and blend until smooth.
- Transfer the mixture to an airtight container. Add cream and stir to combine. Refrigerate at least 6h but ideally 24h.
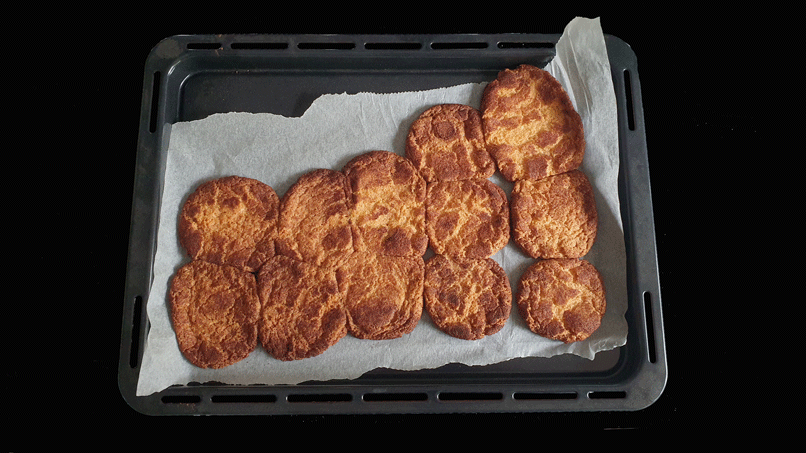
Lime-coriander shortbread cookies (start the day before churning the ice cream)
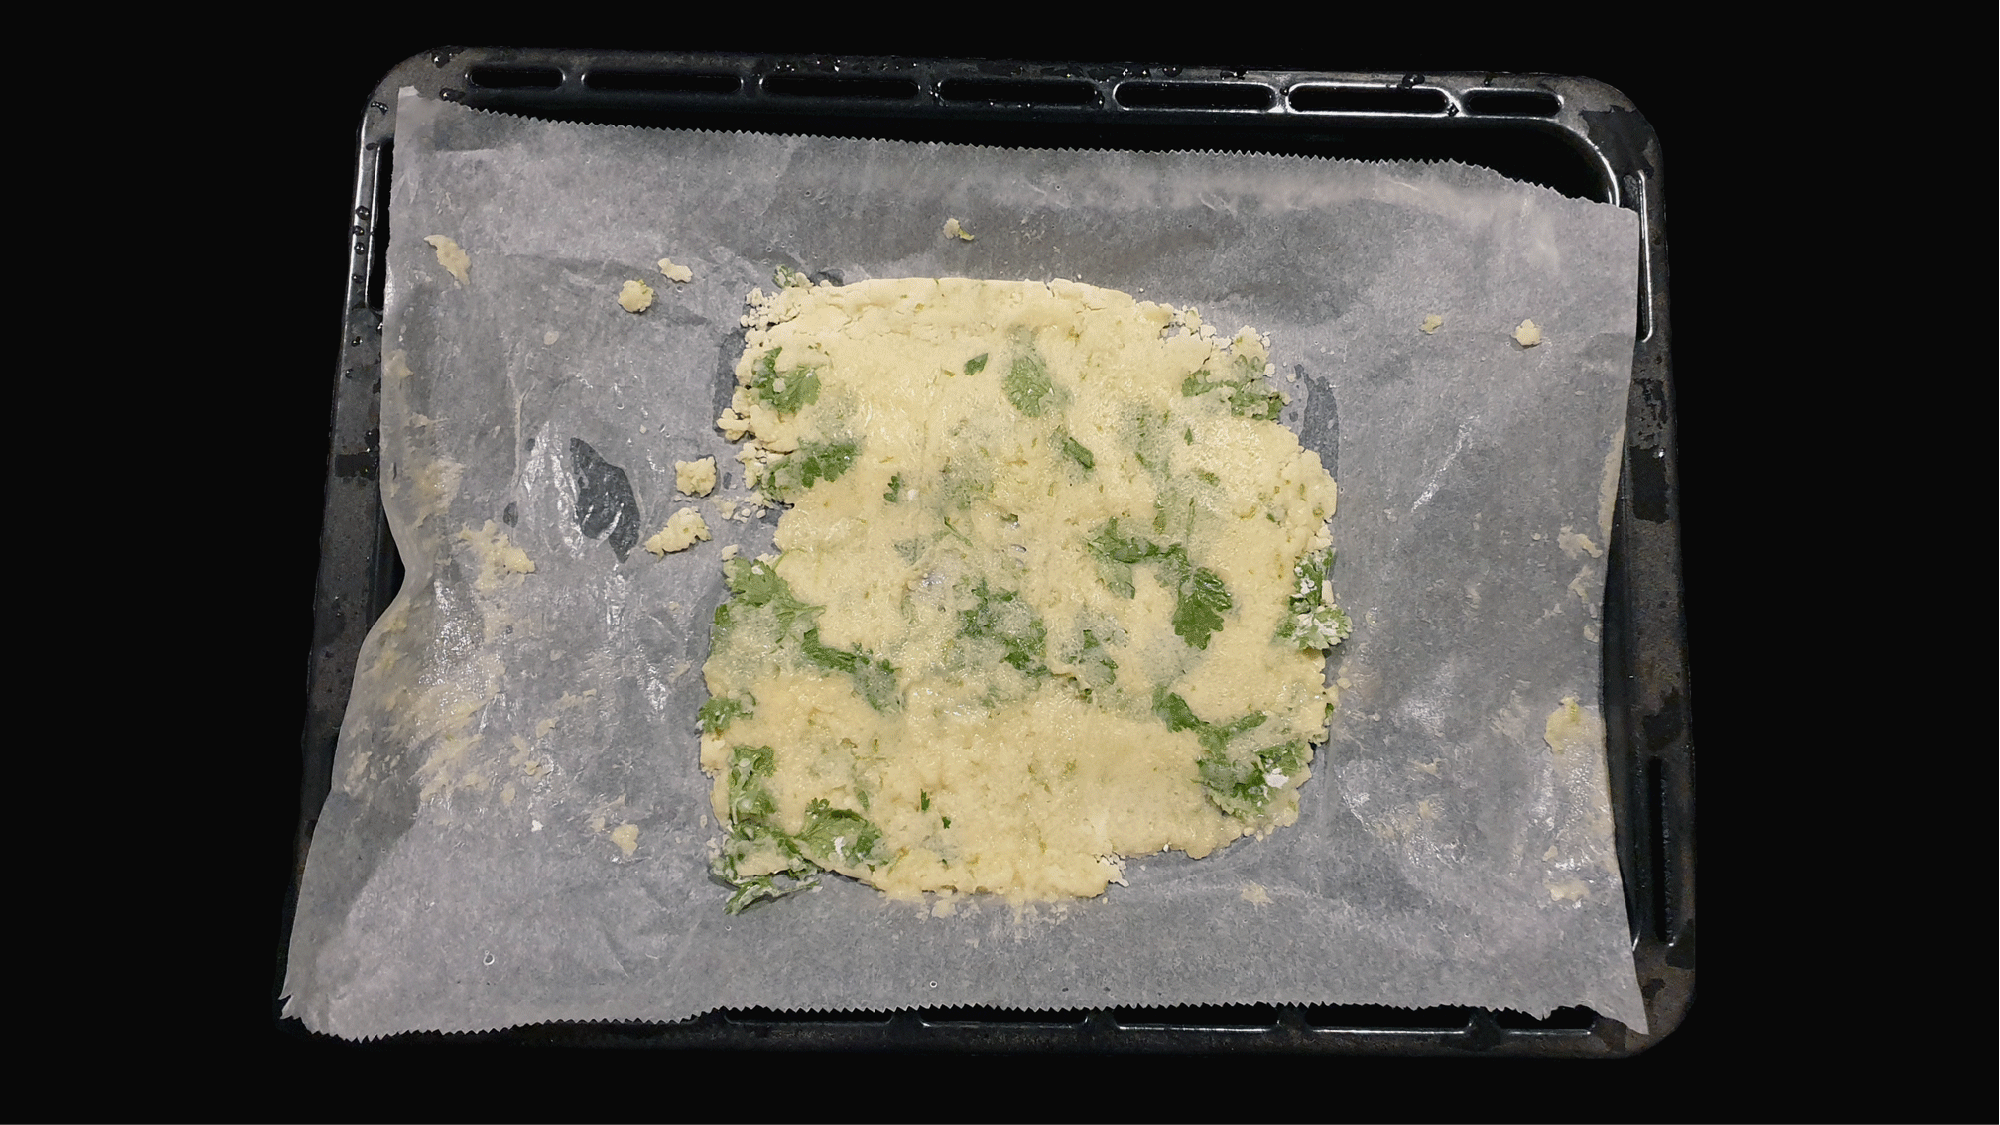
- Preheat the oven to 325°F/170°C. Line a sheet pan with baking paper.
- Cream butter and sugar together until butter becomes lighter in colour.
- Tear up coriander leaves into small pieces, discarding any stems. Add coriander leaves, flour, cornstarch, salt, and lime zest into the mixture and stir until mixture is just combined and slightly pebbly.
- Dump the dough onto the lined sheet pan, and press together. Place another piece of baking paper on top and roll the cookie to about 1/4 inch thickness.
- Bake until the shortbread is golden brown around the edges, around 25 minutes.
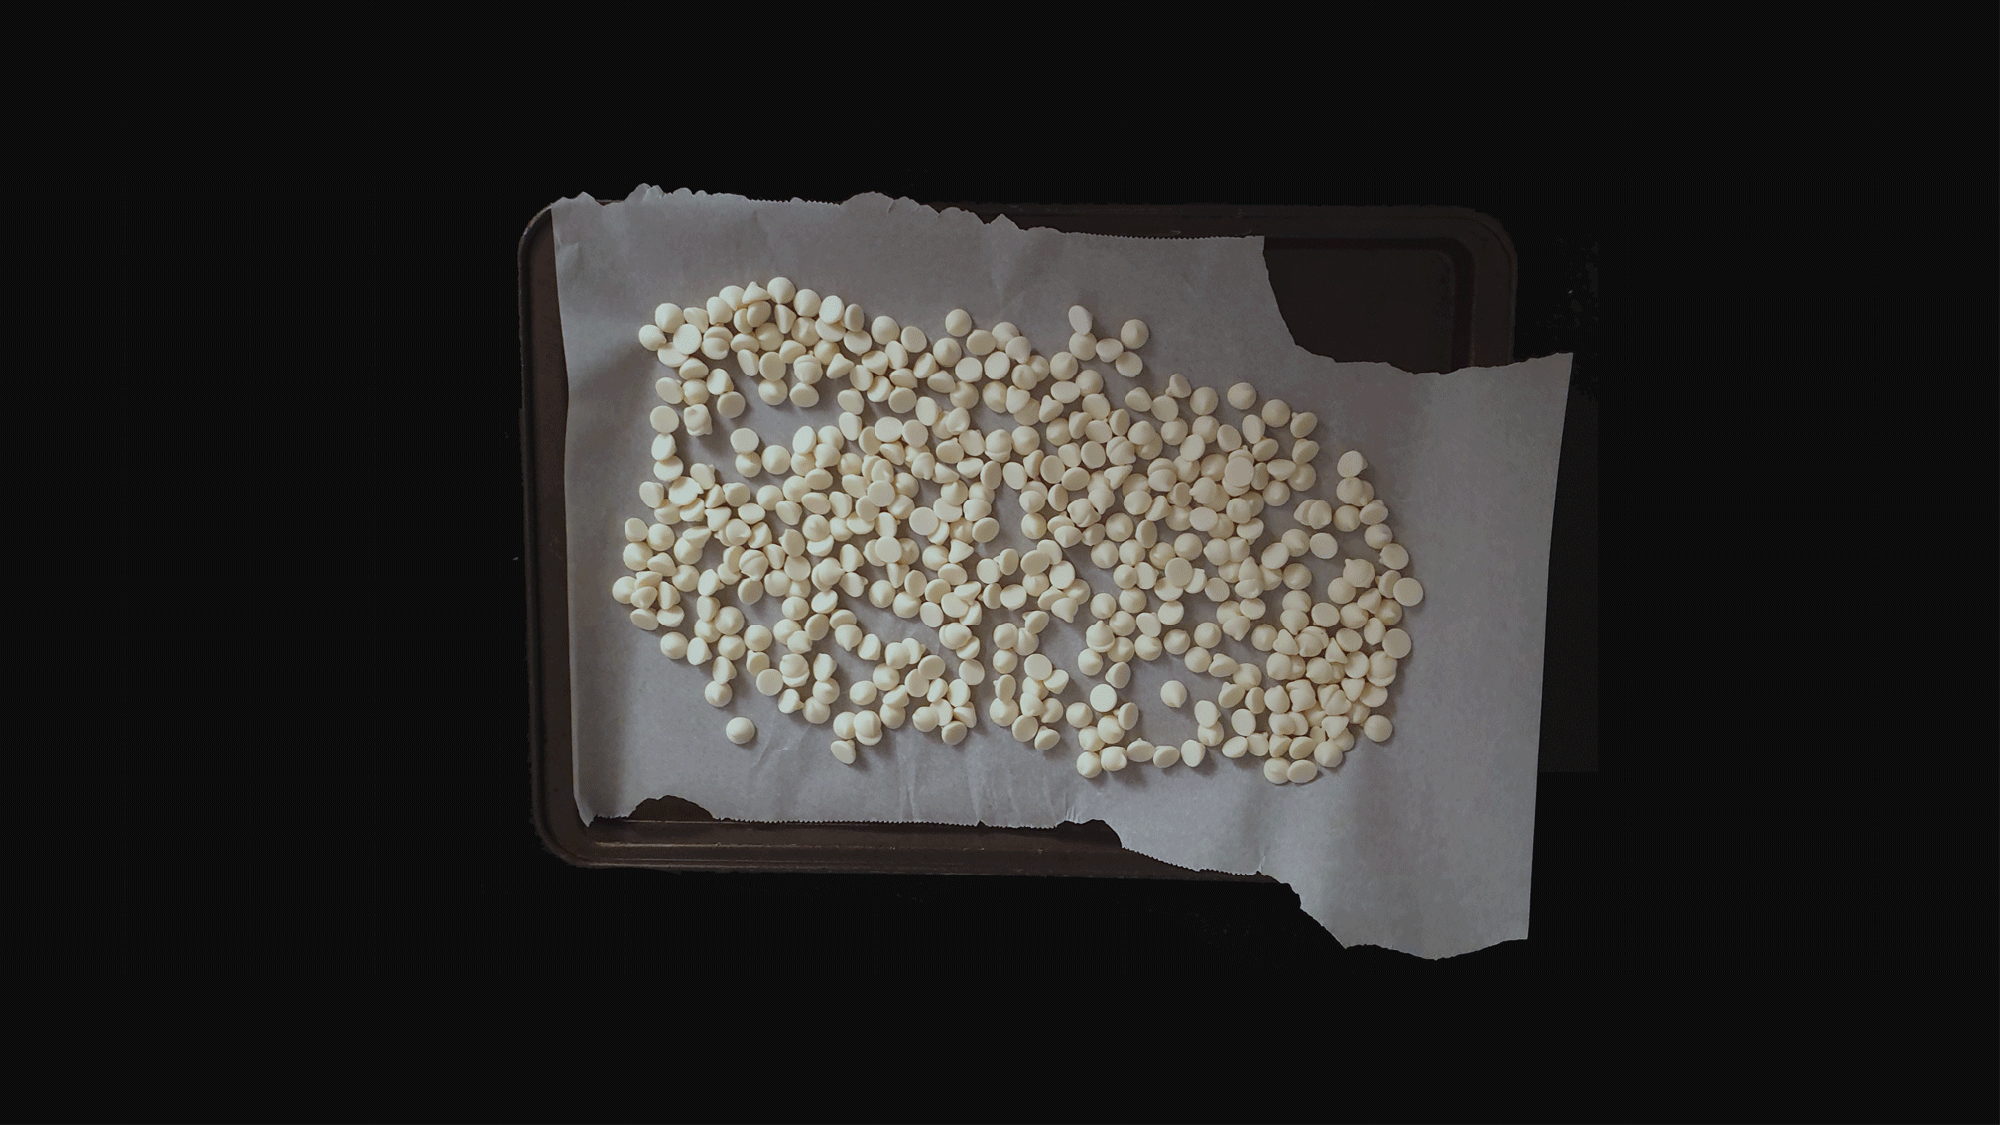
- Let the shortbread cool to room temperature, then cut into small pieces (1/4-1/2 inch pieces). Store in the freezer until ready to use.
Assembly
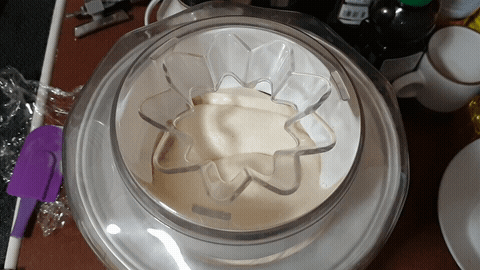
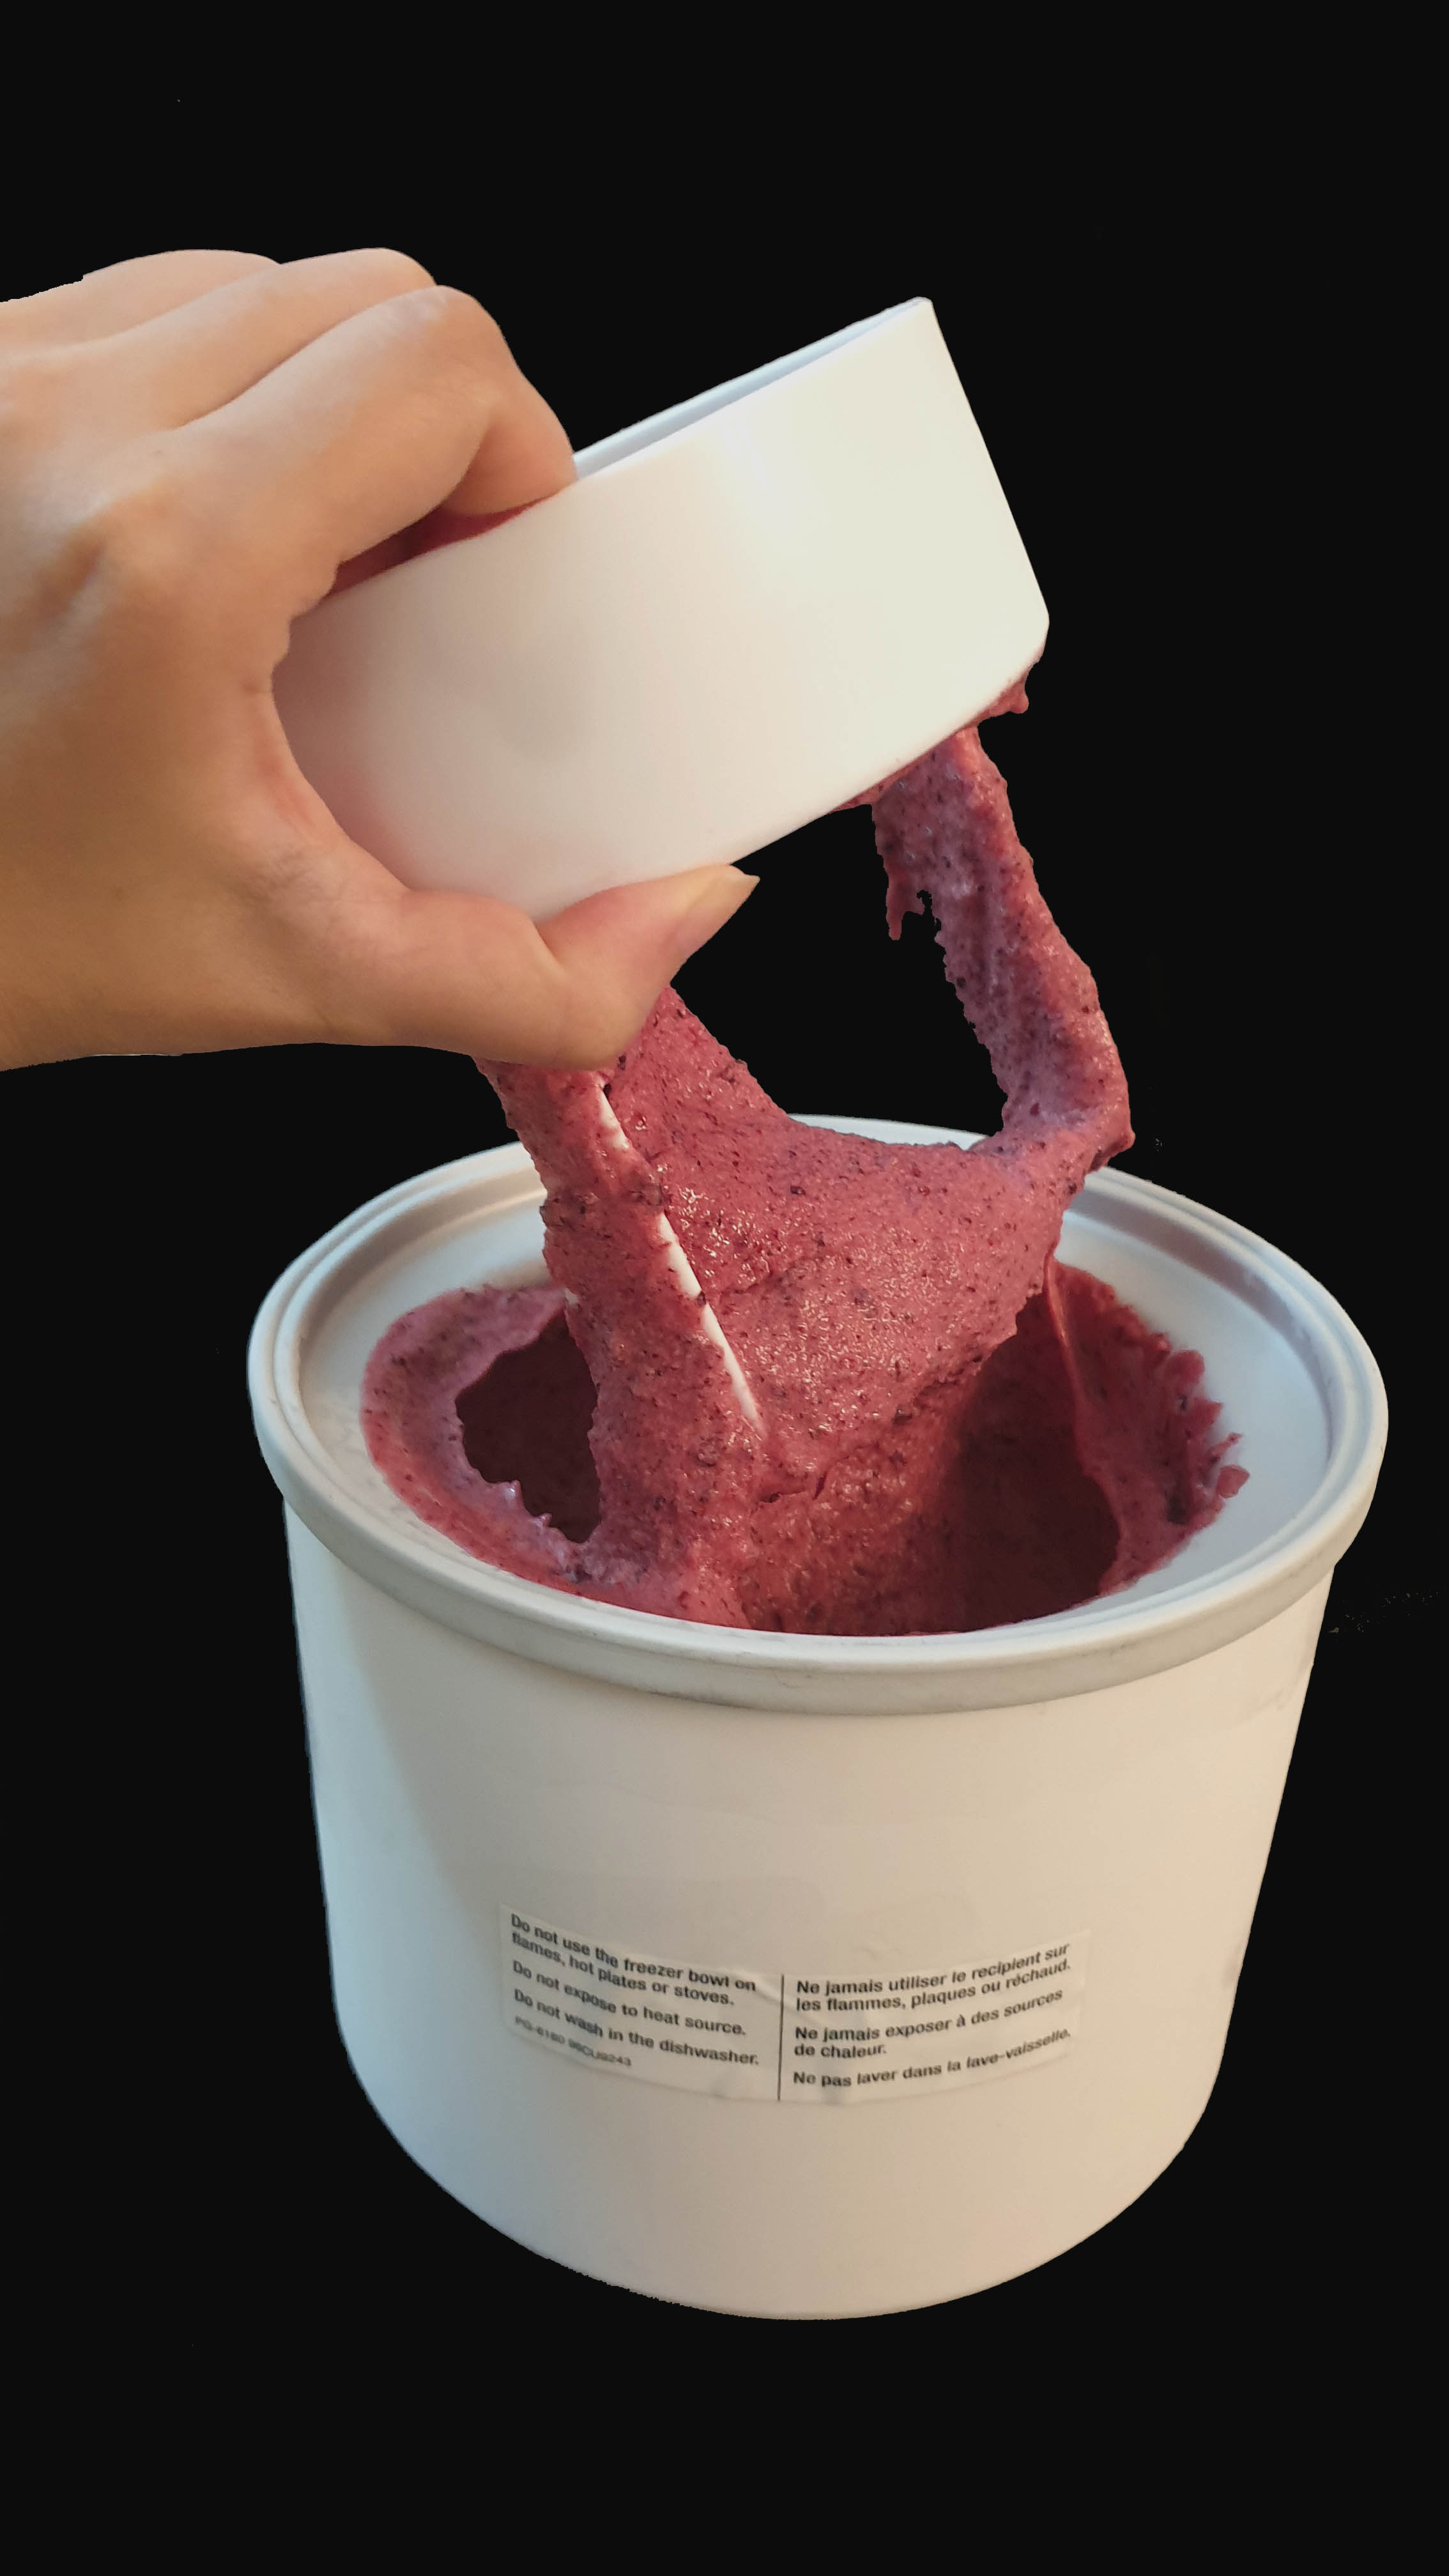
- Pour the ice cream base into an ice cream maker and turn on the machine, and churn until the mixture has the texture of soft-serve.
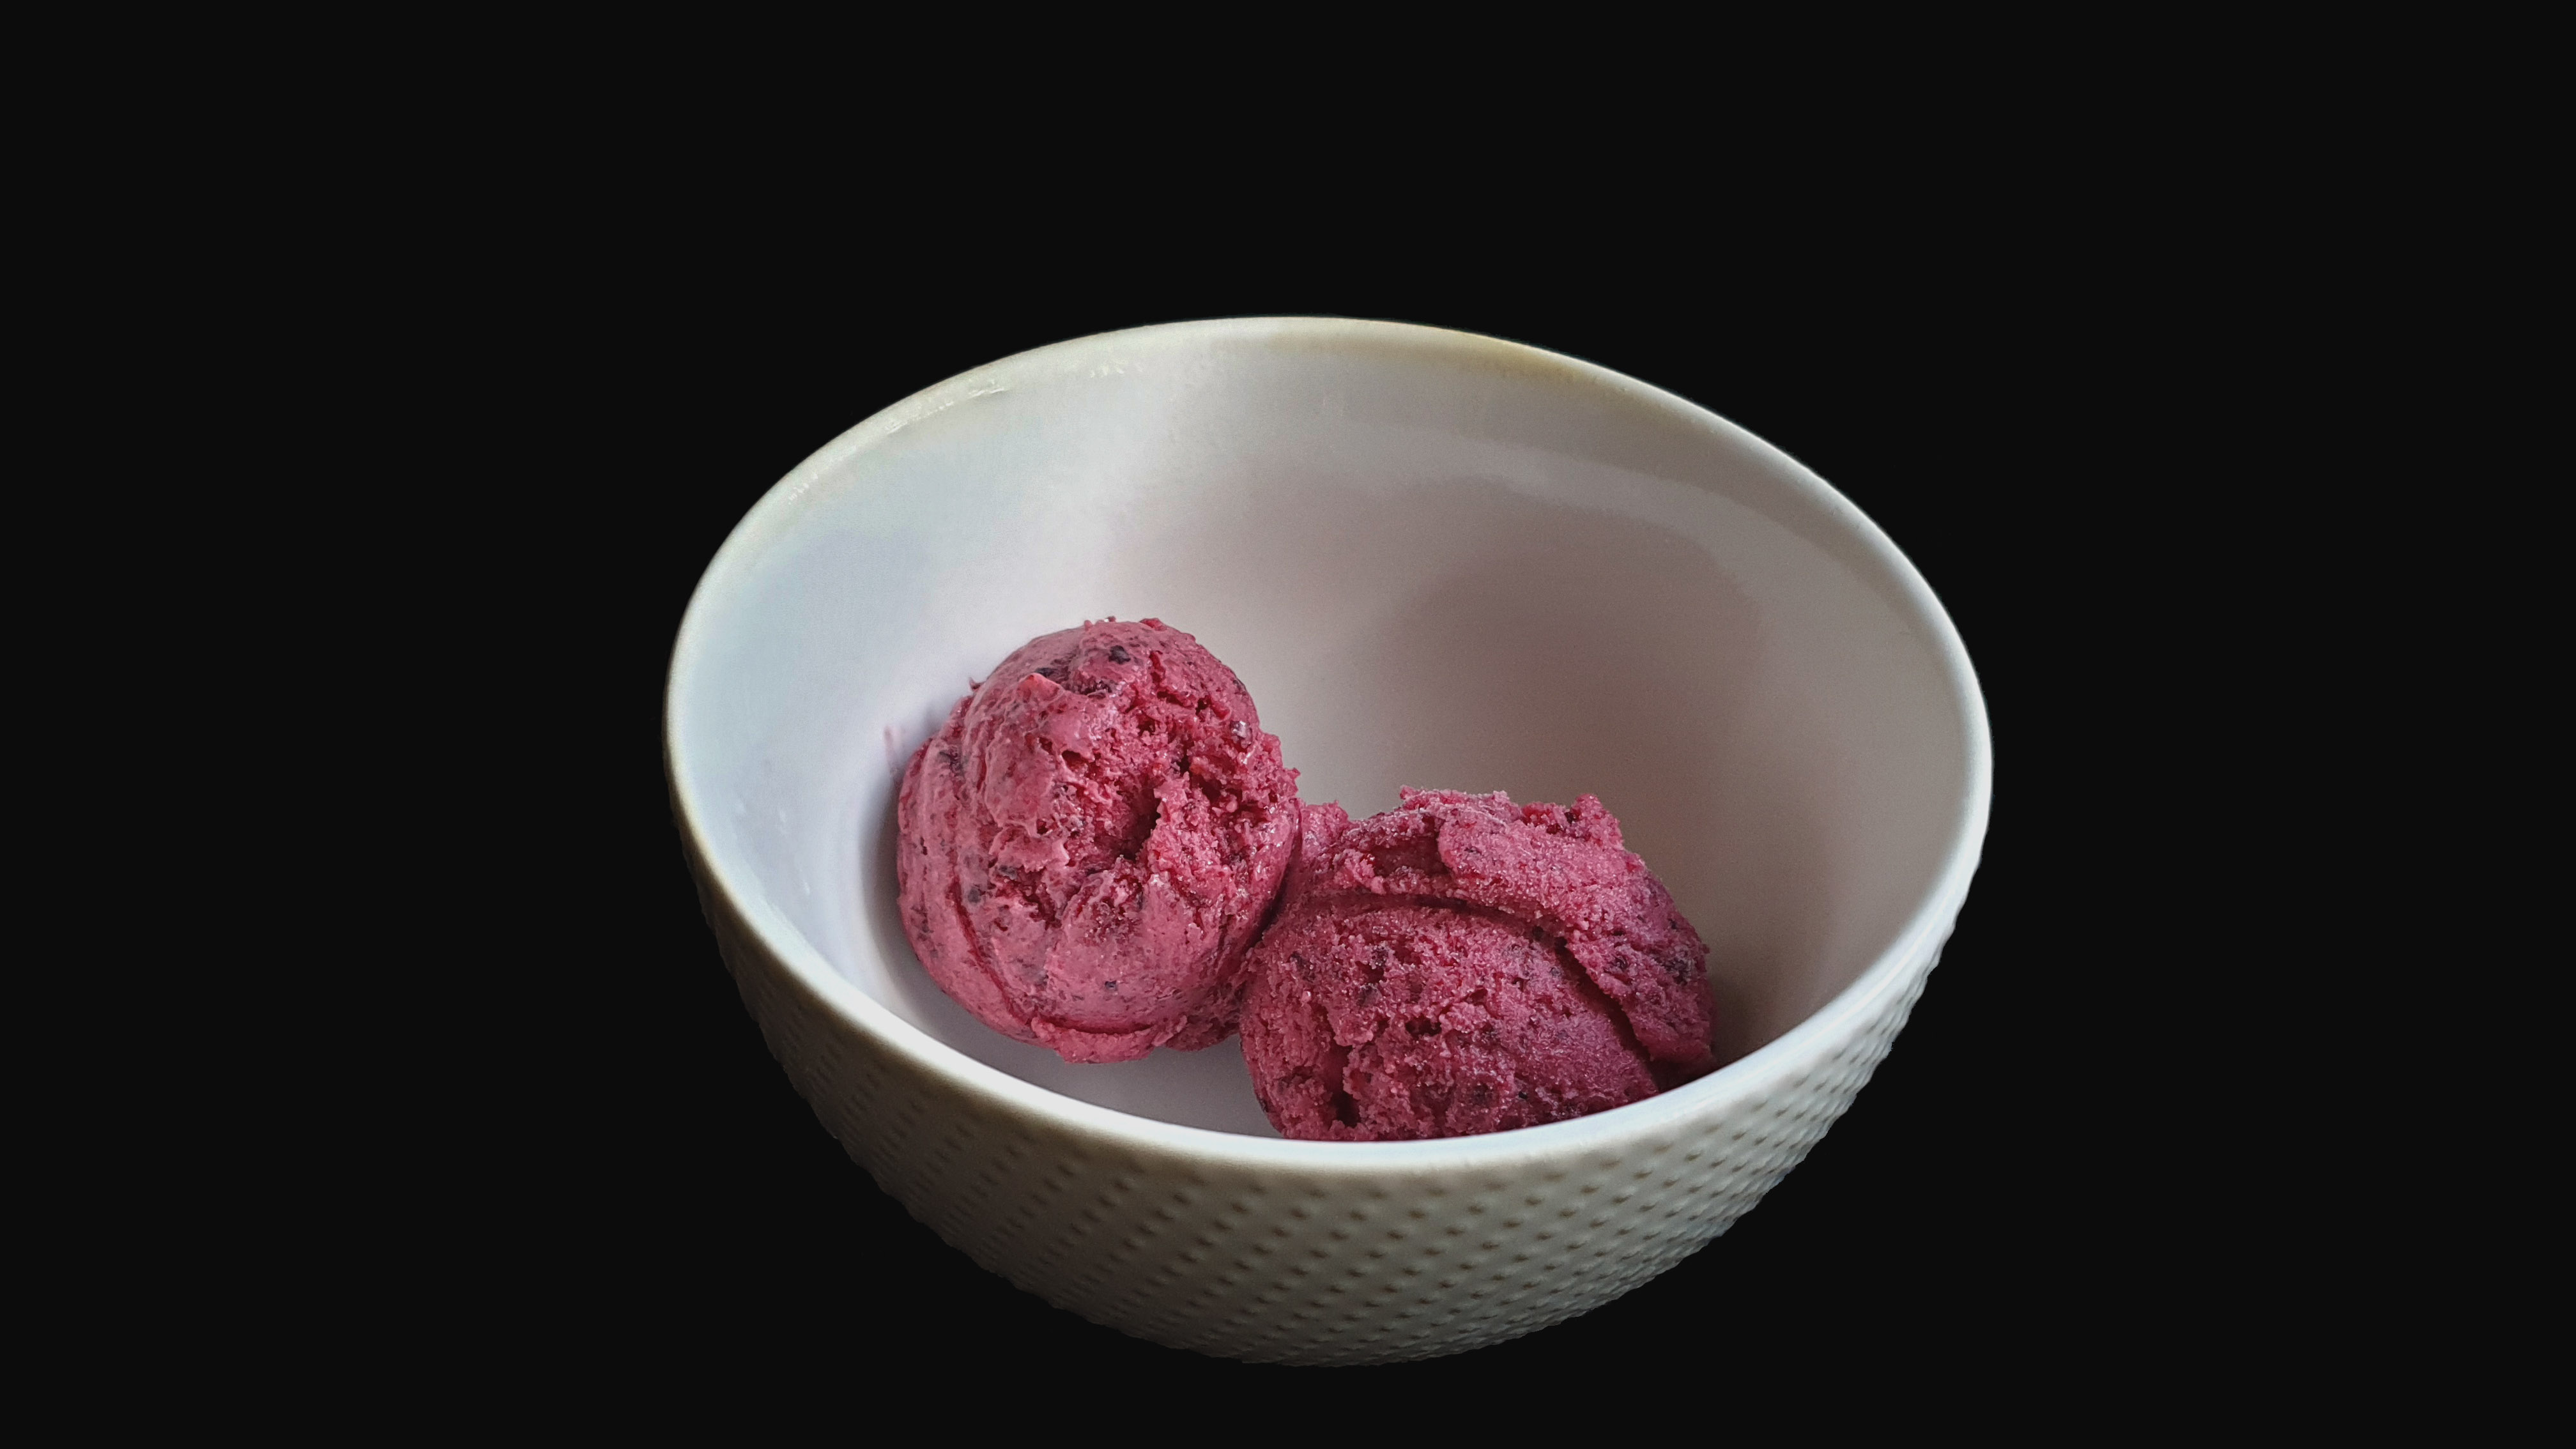
- When the ice cream is ready, transfer a layer of ice cream into a freezer-friendly container. Add the cookie pieces, distributing evenly across the ice cream. Repeat with a layer of ice cream, then the cookies again. (If you use a wide and shallow container, like me, just do 2 layers of each).
- Cover the ice cream with parchment paper (to prevent freezer burn), pressing it to the surface of the ice cream so it adheres, and cover with a lid.
- Freeze the ice cream until solid.
Notes
- Xanthum gum is a thickener/stabiliser commonly used in vegan/gluten-free baking, so that’s where you might find it in the supermarket. Bob’s Red Mill brand is one of the more common brands.
- If you’re using an ice cream maker which bowl needs to be frozen beforehand, make sure to cover the bowl with clingfilm so ice crystals won’t form in the bowl and cause your ice cream to have a sandy texture. Also to be safe, freeze the bowl for at least 2 days and at the coldest setting your freezer will go.
- My ice cream maker takes about 20-30 minutes to reach soft-serve consistency.